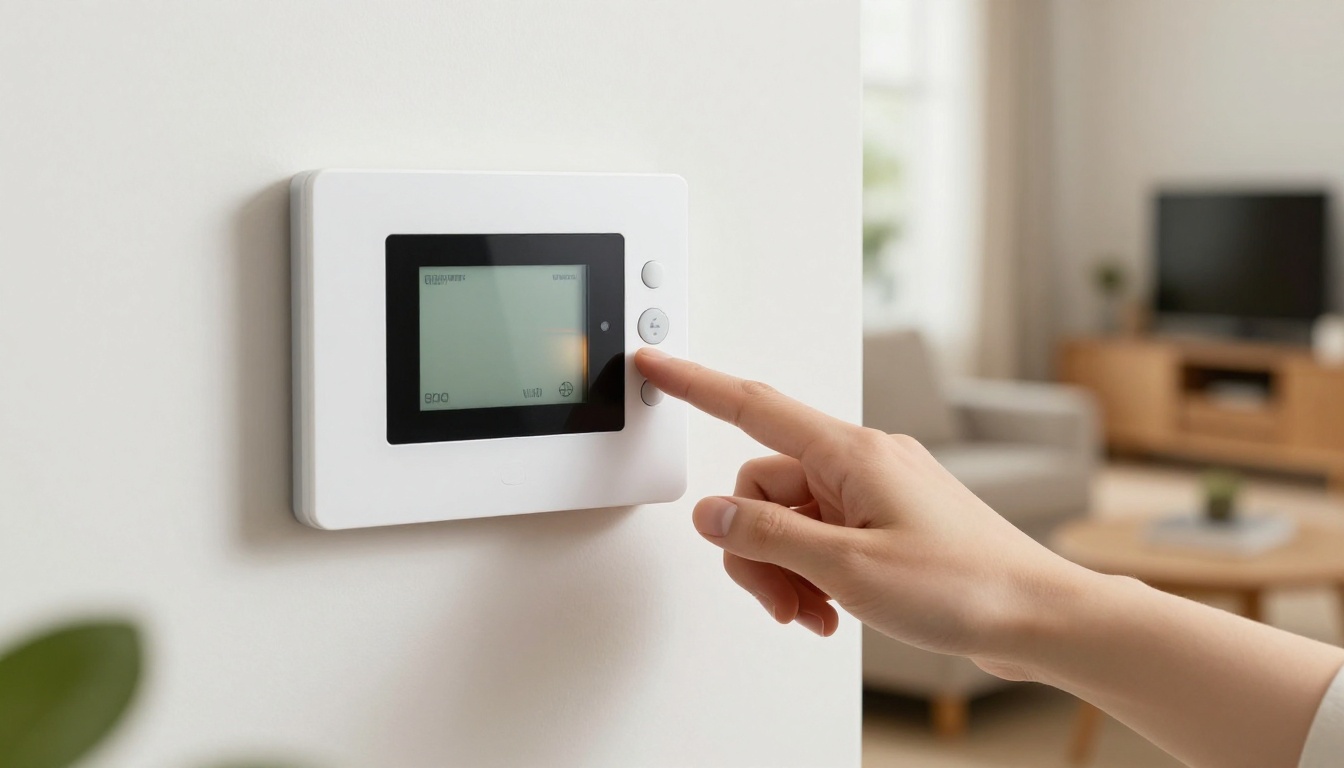
You wake up shivering in April’s early chill because your thermostat screen went blank overnight. That cozy temperature schedule vanished, and now your home feels like a fridge. You don’t want to call an HVAC pro for a simple fix.
Safely replacing batteries keeps your settings intact, saves energy bills, and avoids disruptions. This guide works for most models, including Honeywell, Nest, and Ecobee smart ones. You’ll finish in under 10 minutes, even as a beginner. Follow these steps to dodge Wi-Fi drops or lost schedules.
Spot the Signs Your Thermostat Batteries Need a Swap
Batteries in thermostats last one to two years, but they fail faster in busy homes or cold snaps. High-use families crank heat more, draining power quicker. Cold walls sap energy too, so winter hits hard.
Act fast when you see clues. A full lockout means no climate control until you swap them. Check your model’s manual first for exact signs. Most show clear warnings, so you stay ahead.
Common red flags include:
- Dim or blank display.
- Flashing low battery icon.
- Unresponsive buttons.
- Erratic heating or cooling.
These hints save you from surprises. Spot them early, and replacement stays simple.
Visual Clues on the Display
Look for a dark screen first. No lights mean power died completely. A blinking battery symbol pops up next on many units.
Some models beep softly or flash “LO BAT.” Error codes like E1 might appear too. Press buttons to test. No reaction screams urgent swap.
Take a quick photo of the display. It helps later if settings glitch.
Strange Temperature Swings
Weak batteries mess with sensors. Rooms turn too hot or cold without reason. Your set 72 degrees jumps to 80.
Fans might run endlessly, or heat skips on chilly mornings. AC fails to kick in during summer peaks. Power dips affect circuits, so swings happen.
Track patterns over a day. Consistent issues point to batteries, not the HVAC system.
Gather the Right Tools and Prep Your Setup
Prep makes swaps foolproof. You avoid rushed mistakes that wipe settings. Start with basics for any model.
Grab fresh AA or AAA batteries, matching your thermostat. A small screwdriver handles screw covers. Use your phone camera for photos. A soft cloth wipes dust.
Lithium batteries shine in cold garages or attics. They last twice as long as alkaline. Buy extras for peace of mind.
Clear a workspace below the unit. Note the current time and date on paper. Turn off the breaker if you worry about wires. Keep water away, and use bright light.
Follow this quick checklist:
- Power off at breaker (optional).
- Photo current display and wires.
- Lay out tools nearby.
Safety comes first. These steps lock in your comfort settings.
Choosing the Best Batteries for Longevity
Skip cheap zinc types; they leak and die quick. Alkaline works fine for mild climates. Lithium batteries handle freezes better and stretch to two years.
Match 1.5V rating always. Smart thermostats like Nest use AA disposables mostly. Check the compartment label.
Test old ones with a multimeter if handy. Under 1.2V means replace now.
Step-by-Step Guide to Battery Replacement Without Losing Anything
Follow these numbered steps exactly. They prevent data loss on standard or smart units. Total time stays under 10 minutes.
Photos save everything if the unit reboots oddly. Static can zap chips, so ground yourself by touching metal first.
- Snap photos of settings and wires. Capture the screen, schedules, and wire labels. Write down programs if visible.
- Power off if needed. Flip the breaker for caution, especially on older homes.
- Remove the cover gently. Pull straight or unclip; no prying tools.
- Take out old batteries. Note plus-minus orientation. Slide them out carefully.
- Clean the compartment. Wipe with a dry cloth; no liquids.
- Insert new batteries. Match the diagram exactly.
- Snap cover back on. Restore breaker power.
- Check boot-up. Settings reload in 30 seconds usually.
- Test functions. Run heat or cool cycle.
- Reconnect app for smart models. Sync schedules from photos.
Done right, no reprogramming needed. Smart ones might ping your phone for Wi-Fi.
Document Settings First to Avoid Reprogramming
Photos rule here. Shoot the main screen three times from angles. Catch fan settings, hold modes, and vacation schedules.
For programmable units, jot times and temps on paper. Apps like Nest show history; screenshot that too. This step guarantees quick restore.
Spend one minute max. It pays off big.
Handle the Swap Carefully to Prevent Damage
Pull covers straight to avoid cracks. Some slide up; others pop off at bottom clips. Read your manual’s diagram.
Old batteries stick sometimes. Wiggle gently; don’t force. Clean corrosion with a dry cloth or vinegar swab if mild.
Insert new ones firm but soft. + side matches the spring usually. Touch nothing else inside.
Test and Restore After Insertion
Power cycles in seconds. Screen lights up, settings appear. If blank, wait one minute.
Bump temp up or down. Feel air from vents confirm. Smart apps reconnect auto mostly; log in if prompted.
Match photos exactly. Tweak one degree at a time.
Troubleshoot Common Hiccups and Pro Tips
Settings stick 99% of time if prepped. Still, glitches happen. Blank post-swap? Wait two minutes or cycle breaker.
Fast drain means wrong size or cold spot. Label wires during prep for future. Check batteries every six months, especially pre-winter.
Ecobee needs app sync; Honeywell often holds memory. Emerson models have reset buttons; press only if stuck.
Upgrade to smart if swaps annoy you. They alert low battery via phone.
What If Settings Vanish Anyway?
Cycle breaker off-on three times. Factory reset as last resort; use photos to rebuild.
Update firmware through the app. Call support with model number ready. Prep prevents this mostly.
Rare, but fixes stay simple.
Replacing thermostat batteries safely keeps your home perfect without hassle. You save pro fees and downtime. Bookmark this for next spring.
Try it today on your unit. Share your model in comments for tailored tips. Subscribe for more home fixes. Now you master comfort all year, chill or heat.
(Word count: 1482)