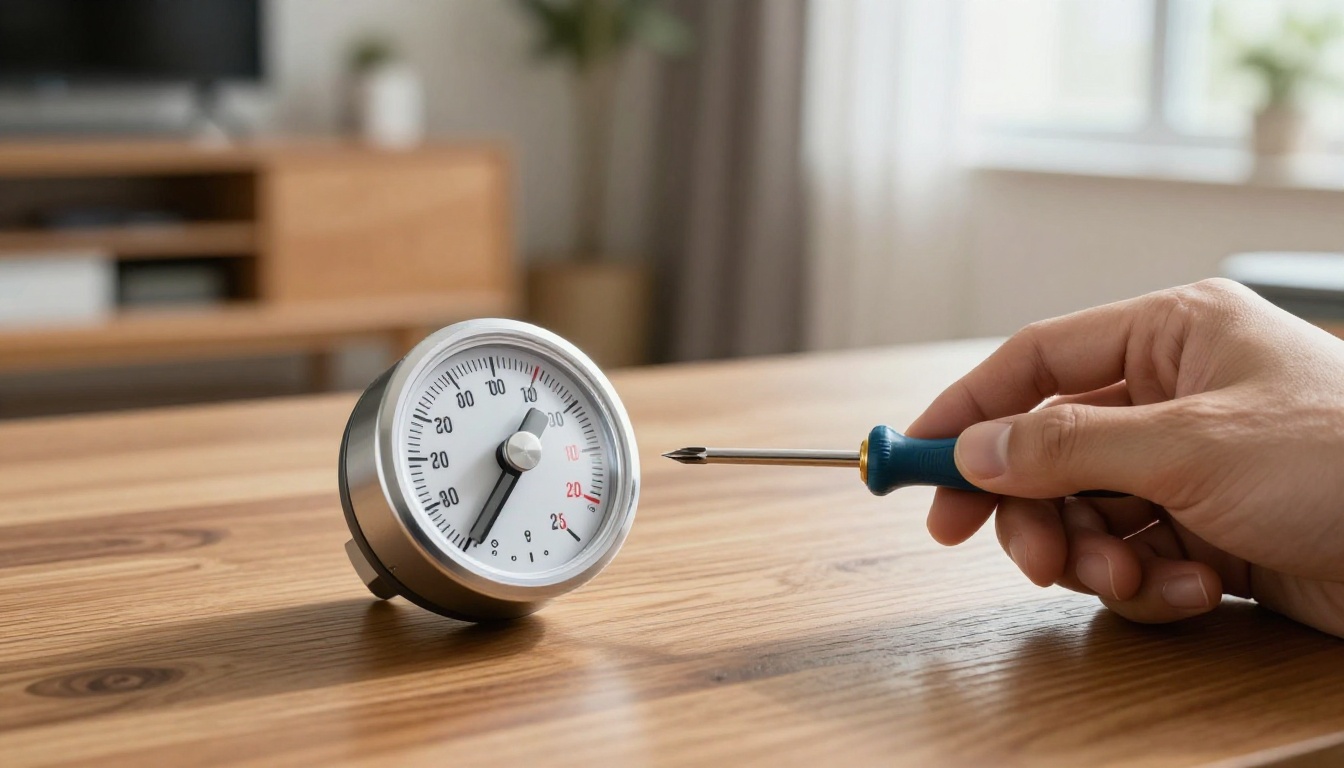
You crank your manual thermostat to 72 degrees before heading out. Yet you return to a house that’s either an icebox or a sauna. This frustration hits hard, especially with energy costs climbing in April 2026.
Inaccurate readings from an old-school manual thermostat waste money and comfort. Your HVAC system runs too long or too short. As a result, bills spike while rooms stay uncomfortable. Calibration fixes this. It aligns the dial with real temperatures using simple tweaks.
This guide walks you through spotting problems, gathering tools, and calibrating step by step. You’ll also learn fixes for snags and maintenance tips. Most homeowners handle it in under an hour. Let’s start by checking if your thermostat needs attention.
Spot the Signs Your Manual Thermostat Needs a Tune-Up
Manual thermostats rely on a bimetallic strip that bends with heat. Over time, dust builds up. Age warps parts. Wear shifts alignment. These issues cause wrong readings.
You notice rooms too hot or cold despite the setting. Temperatures swing during the day. Or the thermostat shows 70 degrees, but a trusted thermometer says 65. Ignoring these leads to discomfort. It also pumps up energy use by 10-20%.
Perform a quick self-check. Place a separate thermometer next to the unit. Wait 15 minutes. Compare the numbers. A gap over two degrees signals trouble. Now let’s break down common clues.
Your Rooms Feel Off Despite the Dial Setting
The dial pointer drifts out of sync. You turn it higher, but the room stays chilly. Or you dial it down, yet sweat builds in summer.
For example, in winter, your living room hovers at 68 degrees on a 72 setting. The furnace kicks on late. It overworks to catch up. This cycle shortens equipment life. Meanwhile, you bundle in blankets.
Hot weather brings the opposite. The AC runs nonstop. Humidity lingers because readings lag. Comfort suffers. Check multiple times a day. Consistent mismatches confirm the need for calibration.
Inconsistent Temps Room to Room
Calibration affects the whole house. Upstairs hits 78 while downstairs chills at 68. Multi-story homes amplify this.
Poor balance strains ducts. Air pushes unevenly. As a result, some spots overcool. Others overheat. Compare readings in three rooms. Note highs and lows.
Drafts or sun exposure worsen it. But a faulty thermostat often roots the problem. Fix it first. Evenness follows.
Gather These Simple Tools for Hassle-Free Calibration
You need few items. Start with an accurate digital thermometer. Skip fridge magnets; they drift two degrees off. Next, grab a small flathead screwdriver. It turns tiny adjustment screws.
Keep a notepad handy. Jot current settings and readings. A level checks wall mount straightness. A flashlight helps in dim spots. Most cost under $20 at hardware stores.
Turn off power at the breaker if your thermostat controls furnace or AC. Safety first. Note the exact dial position before starting. Prep takes five minutes. You’re set for success.
Why a Reliable Thermometer Is Your Best Friend Here
Digital models beat glass ones for precision. Look for one accurate to one degree. Place it at thermostat height, four inches away.
Avoid walls or vents. They skew air. Let it stabilize 15 minutes. True comparison emerges. Cheap ones fail here. Invest $10-15 for lasting use.
This tool reveals the real gap. Without it, guesses rule. Precision guides every turn.
Follow These Steps to Calibrate for Spot-On Readings
Patience wins. Make small changes. Rush, and you overshoot. Allow 30 minutes total. System must cycle for honest tests.
Follow these numbered steps. They suit most manual models like Honeywell or older round dials.
- Position your thermometer next to the thermostat. Same height. Four inches out from wall. Wait 15 minutes.
- Record both readings. Note the difference. Say thermostat shows 72, thermometer 69. Gap is three degrees low.
- Turn off HVAC at breaker. Remove cover. Gently pry with screwdriver if clipped.
- Find the adjustment screw. It’s on the bimetallic coil, often silver. Turn clockwise to raise readings, counterclockwise to lower. Quarter turns only.
- Replace cover. Restore power. Set to comfort temp. Run heat or AC 30 minutes.
- Recheck with thermometer. Repeat if needed. Log each try.
Pro tip: Heat expands the strip. Test in both modes. Small nudges prevent bounce-back.
Verify the Current Temperature Gap First
Height matters. Thermostats sit eye level. Match that. Distance from walls avoids cool air pockets.
Write numbers clearly. Thermostat: 70. Thermometer: 67. Gap: three degrees cool bias. This baseline directs your tweak.
Sun or drafts fool you. Test midday. Steady conditions reveal truth.
Access and Adjust the Inner Mechanism Safely
Inside, a coiled strip senses heat. Screw sits at base or side. Fragile parts demand care.
Clockwise hikes the reading. Counter lowers it. For cool bias, go clockwise. Hot bias? Counter. Wiggle cover off. No force.
Power off prevents shocks. Flashlight spots the screw. Steady hand rules.
Test and Fine-Tune Until It’s Perfect
Run a full cycle. Heat to 72, then cool. Recheck after each.
Log times and temps. First try: gap two degrees. Second: one degree. Stop at half degree or less.
Multiple checks confirm. HVAC settles. Accuracy holds.
Fix Common Problems That Arise During Calibration
Snags happen. Dirt sticks dials. Coils bend. Drafts interfere. Most fix easy.
Clean dust with soft brush. Vacuum gently. No liquids. Insulate behind unit with foam. Blocks wall chill.
If parts break, replace the thermostat. $20-40 models abound. Pros handle wiring. DIY saves hundreds.
Use if-then fixes. Screw stuck? See below. Still off? Check location.
What If the Screw Won’t Budge?
Rust grips it. Dab machine oil sparingly. Wait 10 minutes. Turn slowly.
Pliers risk snaps. Skip them. Heat lamp loosens if stubborn. Patience prevents damage.
Wipe residue. Retest. Smooth action returns.
Readings Still Off After Adjusting?
Location causes half issues. Near doors or windows? Move it.
Wiring faults mimic this. Loose connections drop accuracy. Tug gently; tighten if needed.
Persistent gaps mean replace. New units cost little. Pros diagnose fast.
Maintain Accurate Readings All Year Long
Check twice yearly. Spring and fall suit best. Dust cover monthly. Soft cloth works.
Keep clear of sun, lamps, vents. Blockages fool sensors. Seasonal recalibration accounts for wear.
In 2026, savings add up. One degree cut slashes bills 5-10%. Comfort stays steady.
Log annual readings. Trends spot decline early. Habits build reliability.
Accurate control boosts home value. Efficiency pays off. Simple routine delivers.
Calibrating your manual thermostat restores comfort and trims bills. You spot signs like off rooms or swings. Gather tools, follow steps, fix hiccups, and maintain often.
Grab that thermometer today. Tweak for precision. Share your before-after in comments. Notice big changes?
Upgrade to smart models next? Explore options for hands-free control. Bookmark this. Share with friends. Take charge of your home temps now.