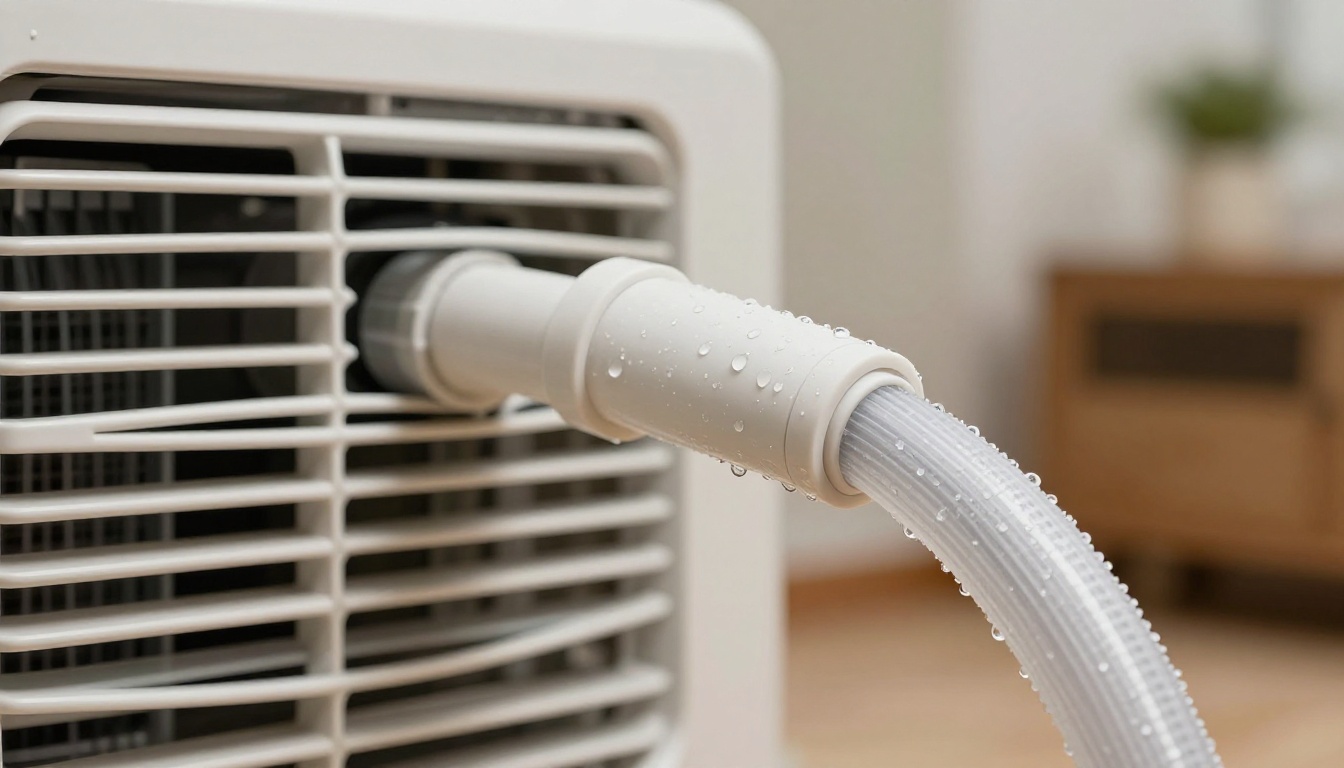
Picture this. It’s a scorching summer day. Your AC kicks on, but water starts pooling near the indoor unit. You wipe it up, only for it to return hours later. Frustrating, right? That points to a clogged condensate drain line, the PVC pipe that removes moisture from your air conditioner. Over time, algae, mold, dirt, and debris build up inside it.
These clogs cause leaks, high indoor humidity, poor cooling, and even AC shutdowns. Water damage ruins floors and walls. Mold spreads fast in damp spots. Your system might freeze up too. The good news? You can fix it yourself with a wet-dry vac. This method pulls out the gunk in minutes. No plumber needed for most cases.
Most homeowners handle this in under 30 minutes. It’s safe if you follow steps. We’ll cover signs, tools, exact steps, and prevention. You’ll save hundreds on service calls. If issues persist, call a pro. Let’s get your AC flowing freely again.
Spot the Signs of a Clogged Drain and Prep Your Space Safely
Water leaks signal trouble first. You might see drips near the furnace or air handler. High humidity makes rooms feel muggy, even with the AC running. The unit struggles to cool. Airflow weakens. Or water fills the drain pan and overflows.
Other clues include a musty smell from mold growth. The evaporator coil ices over because backups block proper drainage. Your thermostat reads higher temps than set. Act quick. Delays lead to bigger repairs.
Locate the line next. It runs from the indoor unit outside. Indoors, check near the evaporator coil. Look for a white PVC pipe, about three-quarters inch wide.
Locating Your Condensate Drain Line Indoors and Out
Start indoors. The line exits the air handler or furnace. In attics, it drops from the coil area. Some units have an auxiliary drain port, a small T-fitting or plug. Pull that for access if needed.
Outdoors, find the end near your home’s foundation. It might poke from siding or concrete. A cleanout cap or open end appears there. No cap? The pipe just drains into gravel or a utility area.
Furnace setups differ from attic ones. Basements often have easy indoor access. Sketch a quick map if lines branch. This saves time later.
Key Safety Checks to Protect Yourself and Your Home
Power off first. Flip the AC breaker. Turn the thermostat to off. Double-check the unit doesn’t hum.
Wear gloves and safety glasses. Lay towels under the unit for spills. Keep a bucket handy. Ventilate the area to clear fumes.
Watch for Freon lines or electrical wires nearby. Don’t poke them. Have your phone ready for emergencies. Check warranty terms. Some DIY voids coverage, so note that.
Prep clears risks. You avoid shocks or chemical exposure. Now your space stays dry and safe.
Gather These Simple Tools for Wet-Dry Vac Success
You need basic items. A wet-dry shop vac provides strong suction. Pick one with at least five horsepower. Rent if you lack one.
Get a narrow hose extension. It fits tight into the pipe end. Duct tape seals the connection airtight. Or use pipe insulation foam.
A bucket catches debris. Mix white vinegar and water for flushing. One part vinegar to one part water kills algae. Pliers or a screwdriver open caps. Rags wipe messes.
Most tools cost under $50 total. You probably own half. No need for plumber snakes or chemicals yet.
The vac pulls clogs backward. Sealing boosts power. Vinegar prevents regrowth. Simple setup means quick wins. Grab everything before starting.
Follow These Easy Steps to Suck Out the Clog with Your Vac
Time to clear it. Work outdoors first if possible. The process takes 15 to 20 minutes. Patience pays off. Double-check each step.
- Remove the outdoor cap or plug. Use pliers if stuck. Shine a flashlight inside. Spot gunk or standing water?
- Attach the vac hose to the pipe end. Push it in firm.
- Seal tight with duct tape. Wrap several layers. No gaps allowed.
- Switch the vac to high power. Run for one to two minutes. Listen for sucking sounds. Debris should flow out.
- Stop and check the bucket. Rinse if full. Repeat if needed.
- Flush indoors next. Pour vinegar mix down the line. Reattach everything.
Test by running the AC. Watch for steady outdoor drip. Monitor a day.
If no outdoor access, use the indoor port. Cover the indoor end temporarily. Suction pulls from there. Go slow to avoid spills.
Seal and Power Up the Vac for Maximum Suction
Sealing matters most. Wrap tape clockwise. Overlap edges. Test pull by tugging gently.
Use a wet rag inside the seal if water blocks. Run in wet mode. This handles sludge best.
Power up short bursts first. Build suction gradual. Feel the pull strengthen. Clogs loosen fast.
Flush and Test to Ensure It’s Fully Clear
Mix one cup vinegar per gallon water. Pour slow with a funnel. Let it sit five minutes.
Run AC on fan mode. Check outdoor flow. Clear water means success.
Watch indoors 24 hours. No leaks? You’re done. This kills hidden algae.
Troubleshoot Stubborn Clogs and Prevent Them Long-Term
Vac didn’t work? Soak with a bleach solution next. One part bleach to 10 parts water. Pour and wait 15 minutes. Retry suction.
Gently snake a thin wire. Avoid sharp bends. Push no farther than two feet.
Multiple clogs or odd smells? Call an HVAC tech. Pros handle deep issues.
Prevent repeats. Flush monthly with vinegar. Drop AC drain tablets in the pan. They dissolve slow and kill growth.
Clean filters quarterly. Schedule annual service. Set phone reminders.
These habits keep lines open. Your AC runs cool through summer. No surprise floods.
Cool air flows steady now. You fixed it fast and saved cash. Water damage stays away. Homeowners handle this easy.
Try these steps today. Share below if it worked for you. Got HVAC questions? Drop them in comments.
Subscribe for more DIY tips. Stay cool. If unsure at any point, hire a pro. You got this.